


Roof Loading Tips for Overland and Off-Road Adventures
Overlanding and off-roading adventures often demand additional gear, and roof racks or crossbars are a great solution for expanding your vehicle’s storage capacity. However, you’ll need to carefully consider what – and how – you carry your gear. Not just to ensure you have everything you need, but also to maintain your vehicle’s performance and safety during your expeditions.
Here’s everything you need to know about loading your rooftop gear the right way.

Why Your Rooftop Load Matters
Mounting gear on your roof changes the dynamics of your vehicle in significant ways. Understanding these effects will help you make smarter decisions about how to maximize your storage while protecting your vehicle and ensuring a safe driving experience.
Impacts on Vehicle Dynamics
Rooftop loads change how your vehicle behaves on the road and trail. Here’s how:
-
Aerodynamics: Large or bulky items like rooftop tents, jerry cans, spare tires, or even cargo boxes can reduce aerodynamic efficiency. This extra drag can reduce your fuel economy, and you certainly don’t want to run out of fuel in the backcountry.
-
Center of Gravity: Adding weight to the roof raises your vehicle’s center of gravity. This can make it feel less stable during turns, on uneven terrain, or in high winds.
-
Handling and Clearance: A higher load may interfere with your vehicle’s ability to maneuver tight spaces, and it can also reduce your clearance for bridges, garages, or obstacles like tree branches.
Don’t Overlook Weight Limits
Every vehicle has load limits set by the vehicle manufacturer to ensure safety. These include:
-
Vehicle Load Ratings: Always check your vehicle manufacturer’s maximum rooftop load capacity. Even if your roof rack is rated to handle more weight, exceeding the vehicle’s limit can damage the roof structure and compromise safety. For those running crossbars, check the max load ratings on the side rails as those are often lower than the overall roof load rating.
-
Dynamic vs. Static Loads: Keep in mind that the maximum weight your rack can carry when the vehicle is stationary (static load) is often much higher than when it’s moving (dynamic load). Allocate rooftop gear based on dynamic load ratings to avoid issues during your drive.

Choosing What to Carry on Your Roof Rack or Crossbars
Planning what to load on your roof rack or crossbars comes down to a balance of size, weight, accessibility and necessity. Going for a weekend trip to the lake? Then a kayak and cargo box might be all you need. Venturing into the backcountry for a weeklong excursion? Then you might want to focus on recovery equipment. Here’s what to consider when making your decisions.
1. Size
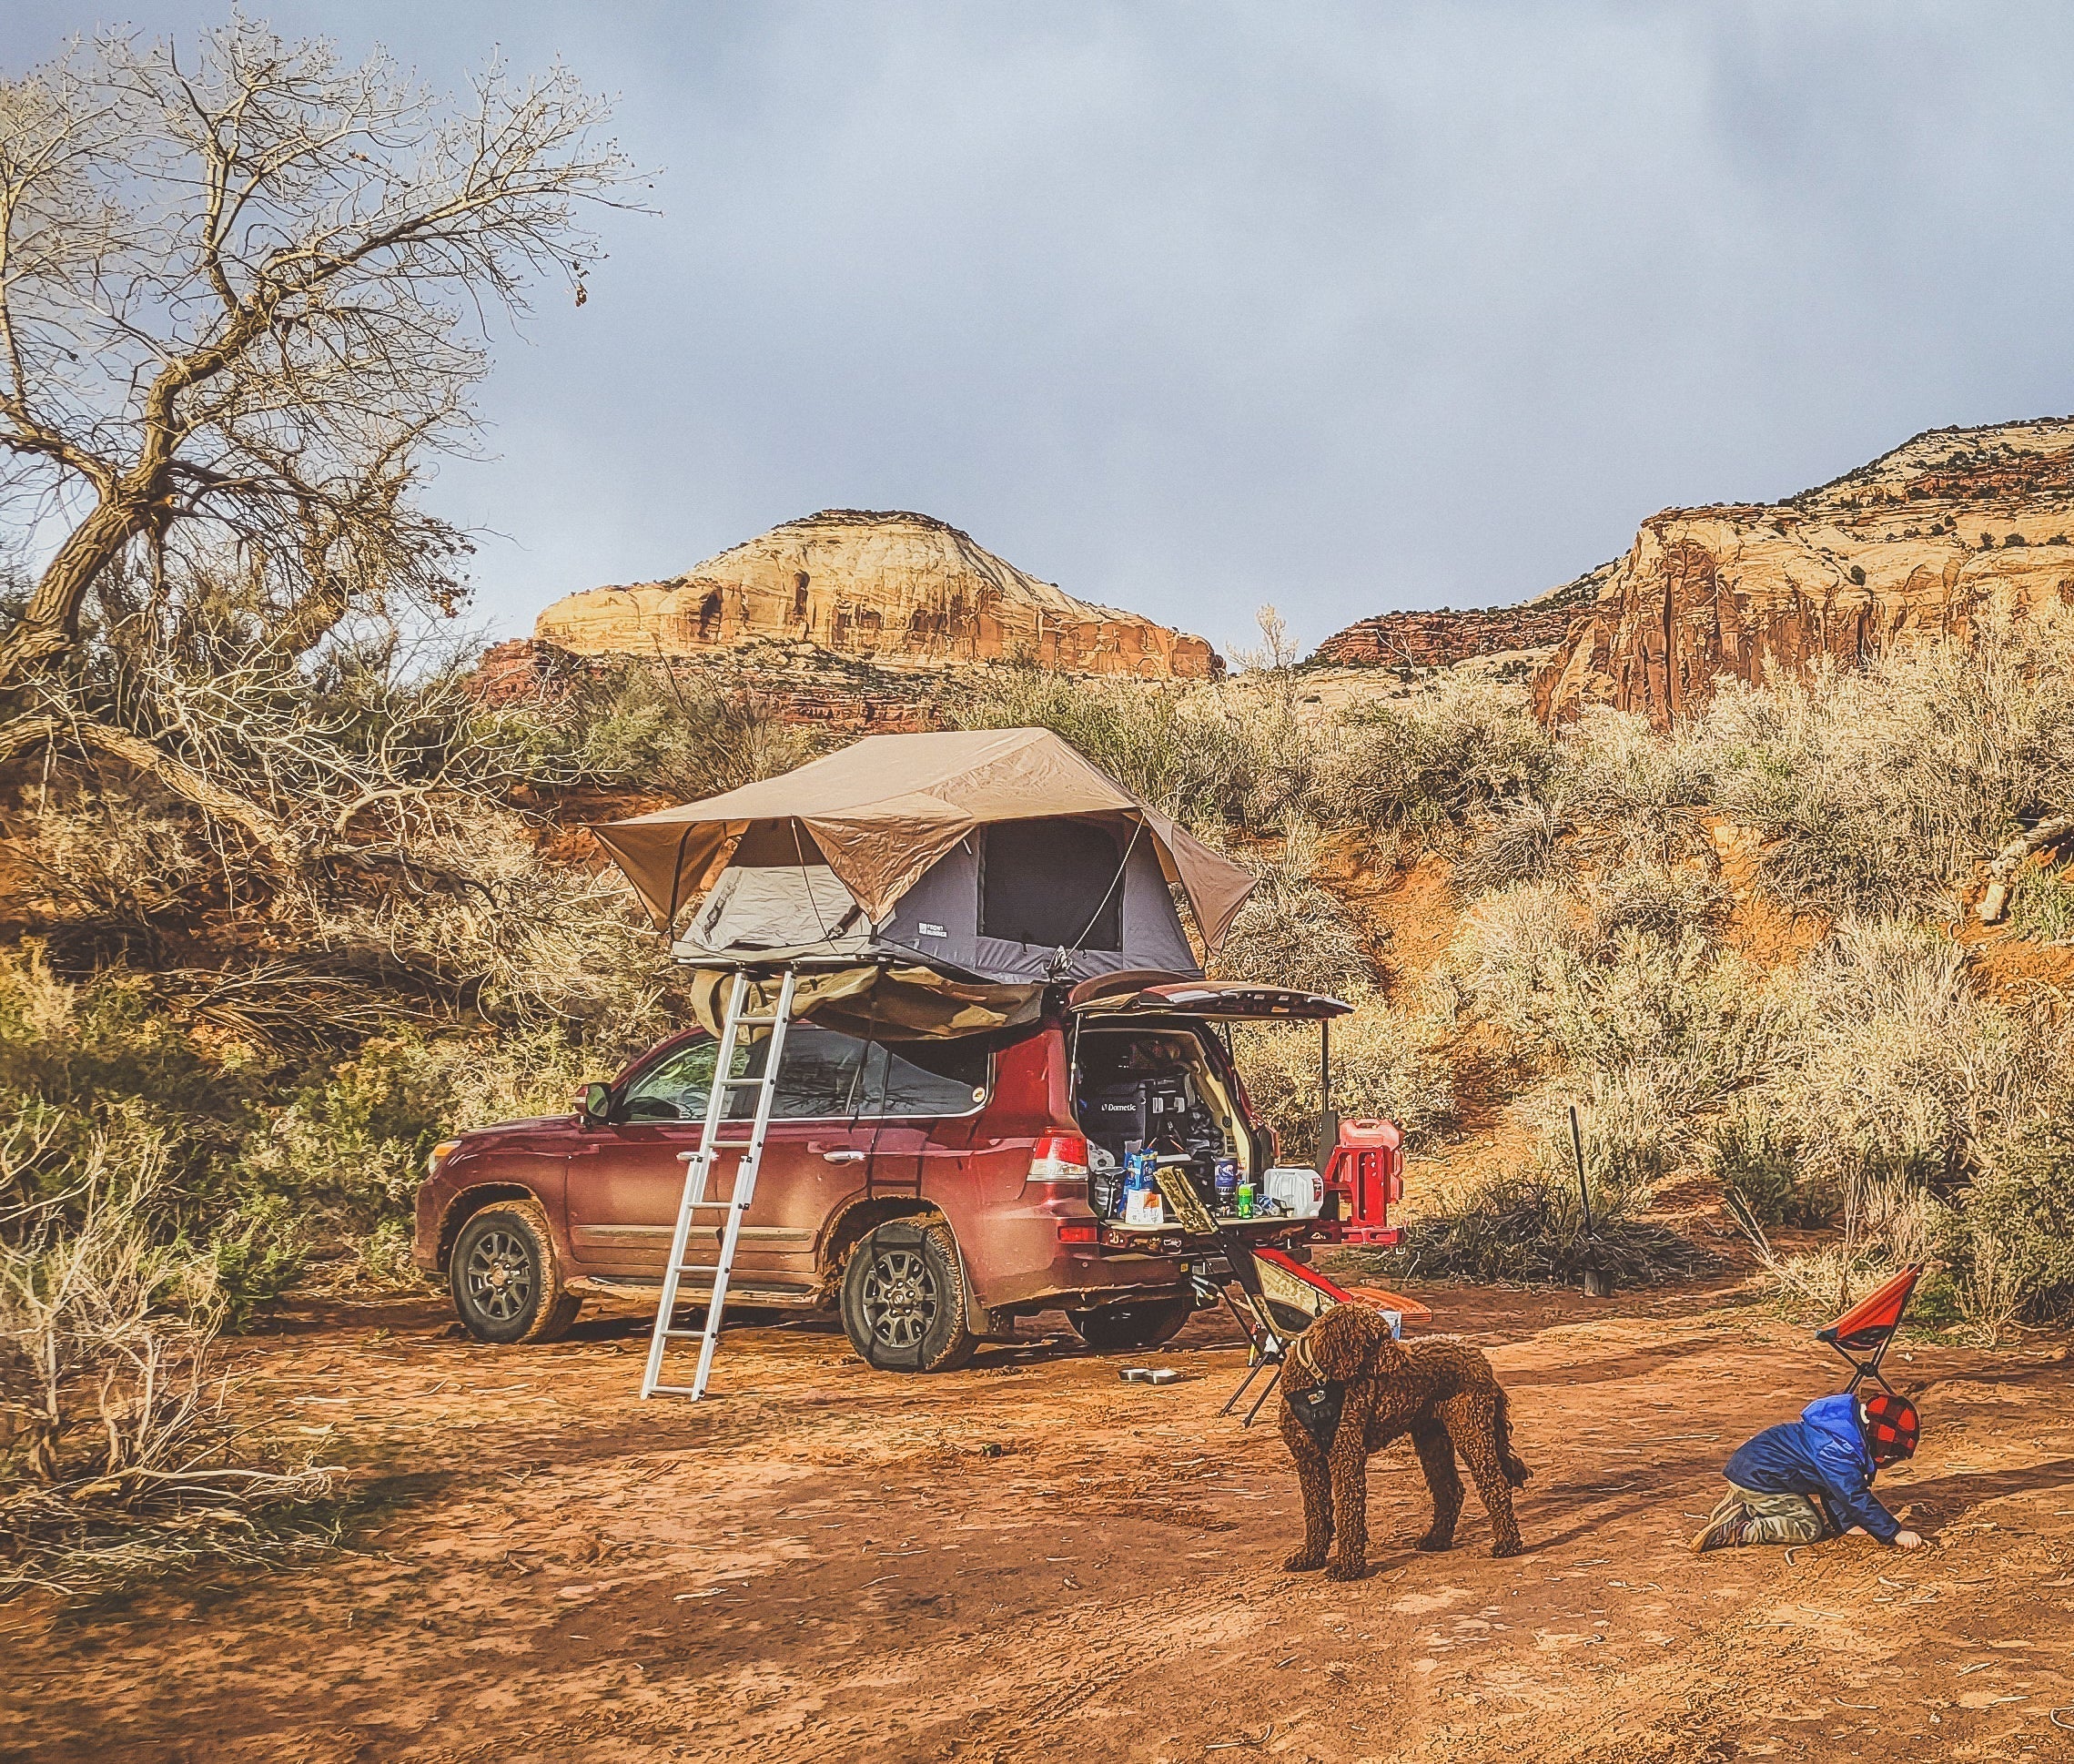
The roof is ideal for bulky items that are too large or take up too much space inside the vehicle. Things like rooftop tents, kayaks, surfboards, bikes – the roof is pretty much the only option for oversized items. Cargo boxes are a great way to carry lots of smaller items like sleeping backs, camping gear or personal items.
2. Weight
While it may be tempting to put the heavy stuff up top, remember that you may have to load and unload heavy items from high up on your roof. Not to mention the impact on your vehicle dynamics and the concern of your roof’s max load rating. Heavier items might be better off kept inside or lower on the vehicle, like water, spare fuel, or tool kits.
3. Accessibility & Necessity
Need to be able to access an item quickly and easily without digging through everything you have packed in the vehicle? The rack might be the way to go! Some of our favorite items to carry up top are Hi-Lift jacks, recovery / traction boards, chain saws, and other items we might need to employ while on blazing a trail. Conversely, don’t go stowing items you’ll need on the drive, like snacks or a first aid kit, inside that cargo box up on the roof.
Examples of What to Carry on Your Roof
Camping & Shelter
-
Roof top tent (RTT)
-
Auxiliary lighting
-
Solar panels
Tools & Equipment
-
Shovel
-
Fire extinguisher
Recreation Gear
-
Kayaks, canoes or paddleboards
-
Bicycles
-
Snowboards or skis
Extra Storage
-
Carbo boxes or other hard cases

Tips for Efficiently Loading Your Roof
Once you’ve decided what to carry, here are some tips to load your rack or crossbars.
1. Distribute Weight Evenly
Balance your load across your rack or crossbars to minimize the risk of tipping or uneven handling. Avoid concentrating too much weight on one side, up front, or in the rear.
2. Secure Everything Tightly
Be sure to secure your cargo, using ratchet straps, bungee cords or locking mounts. You don’t want your cargo sliding around or shifting while driving. That’s why we make locking mounts specifically for traction boards, hi-lift jacks and more.
3. Minimize Aerodynamic Drag
This is important especially for long trips. Position more streamlined items towards the front of the rack and place bulkier items towards the rear to help reduce drag.
4. Check Clearance Before Embarking
Double check your full vehicle height, including rooftop load, and be mindful of bridges, garages, drive throughs, and other low-clearance obstacles you might encounter.
Final Thoughts
Your roof rack or crossbar setup can dramatically enhance your overlanding and off-roading capabilities, but only if loaded thoughtfully. Balancing weight, vehicle dynamics, and accessibility is essential to maximize safety and performance during your adventures.
Need help getting your vehicle ready for your next trek? Check out our collection of roof racks, crossbar kits, and mounting accessories designed for the toughest expeditions.
- Choosing a selection results in a full page refresh.
!